1. Event Info
Enter your basic event information such as name, date, time, etc. Want to sell tickets? Make sure you select Ticketed under Event Type!
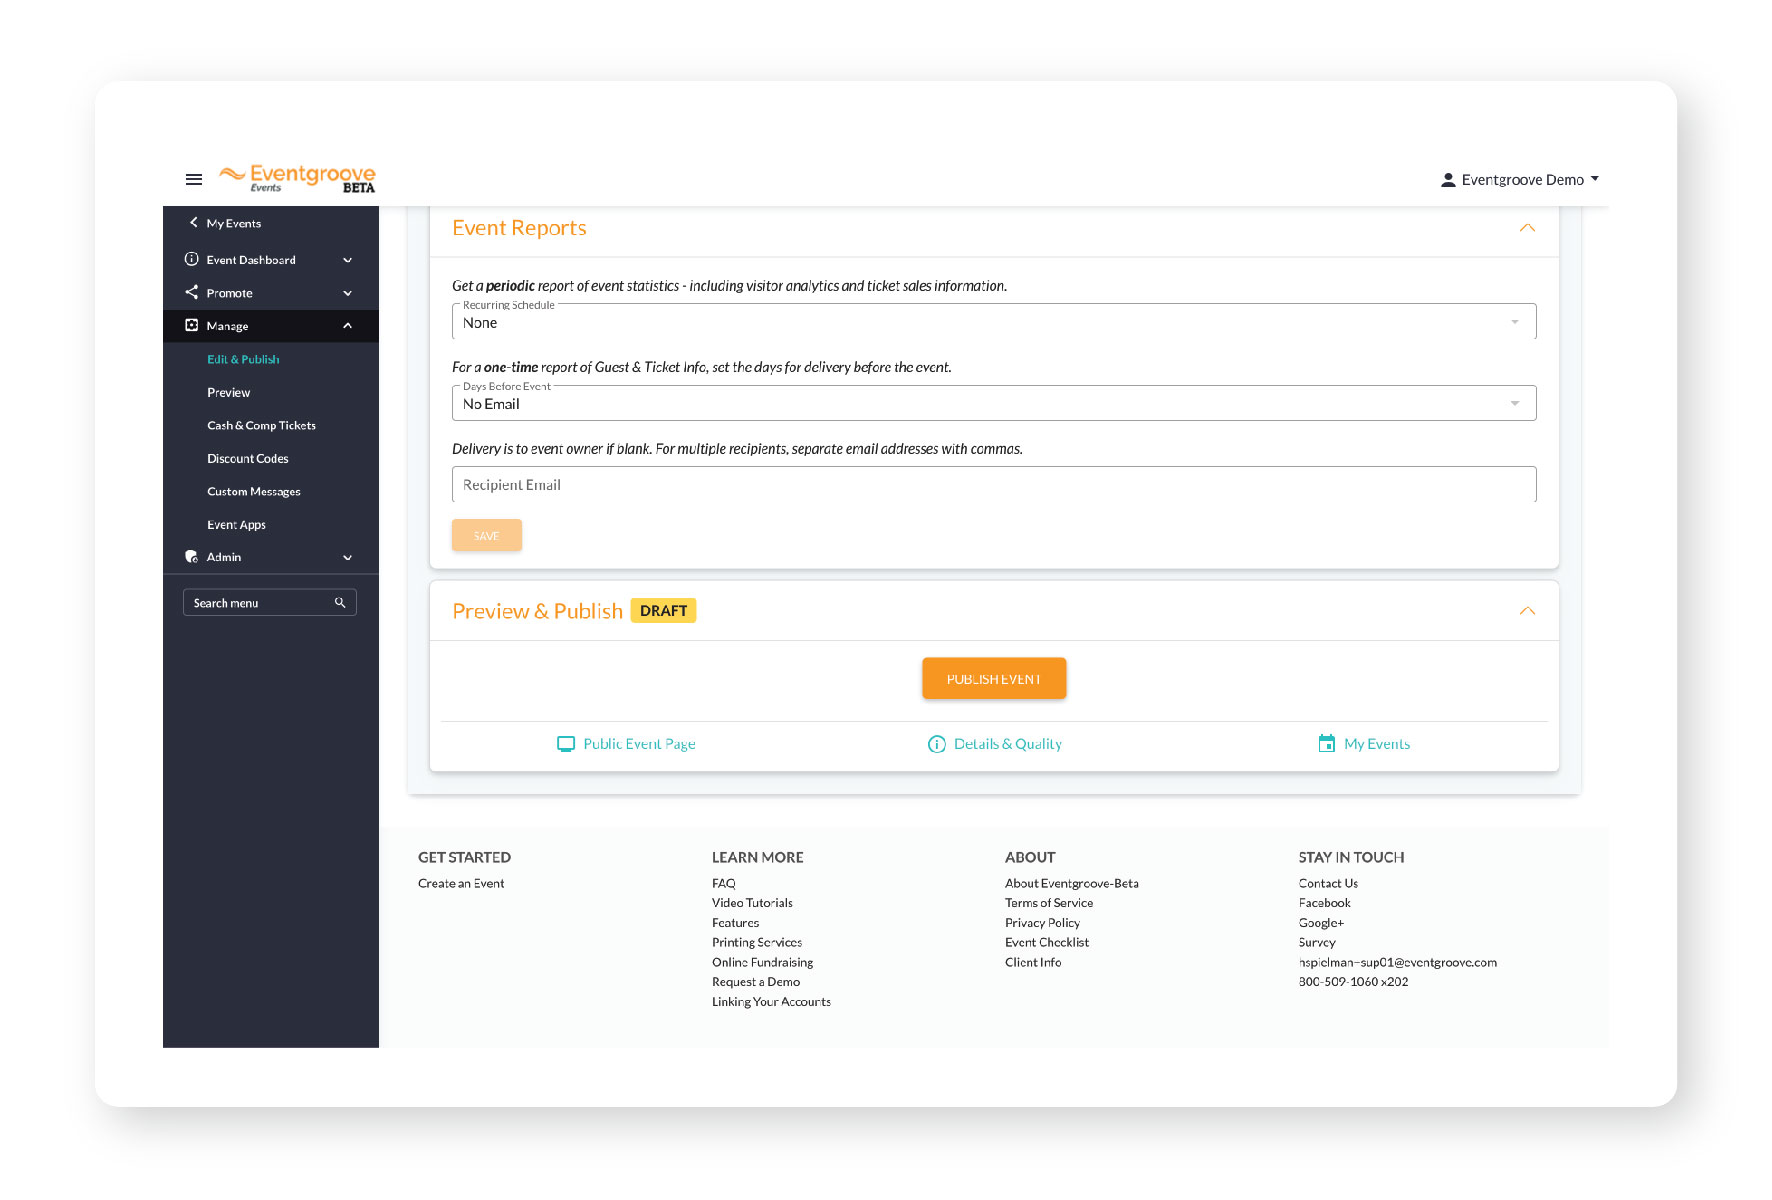
Event Reports: If you want, we’ll email you reports about your event analytics (page visits & sales information)
2. Venue
Tell visitors about your venue. Hosting an event with reserved seating? Our friendly support staff will reach out to help you set it up.
3. Ticketing
Add as many ticket types as you like. Include basic information about pricing and quantity. Under advanced options, specify when sales should begin and end, as well as the minimum and maximum number of tickets per purchase.
Guest Info: request additional information from ticket buyers, such as email, t-shirt size…anything you want.
4. Payments
You'll need to connect a Stripe account to receive payments, as that is our payment processor. You can create a Stripe account during event set up, or go to stripe.com to create one first, and then simply link it while you're creating your event!
How much? Our processing fee is 2%+$0.50/ticket. Stripe charges 2.9%+$0.30/transaction.
![]()

5. Publish!
Congratulations, your event page is live! Be sure to check out your my-event-dashboard (Manage Events>Click on Event name) to share your page, view analytics, check your guest list, and more.
Pro tip: customize your page
Go to event dashboard (Manage Events>Click on event title). Edit your event and go to Basic Info. You can upload an event image there. This image will be your banner image as well, but it will be blurred behind the main image as shown above.

Comments
0 comments
Please sign in to leave a comment.